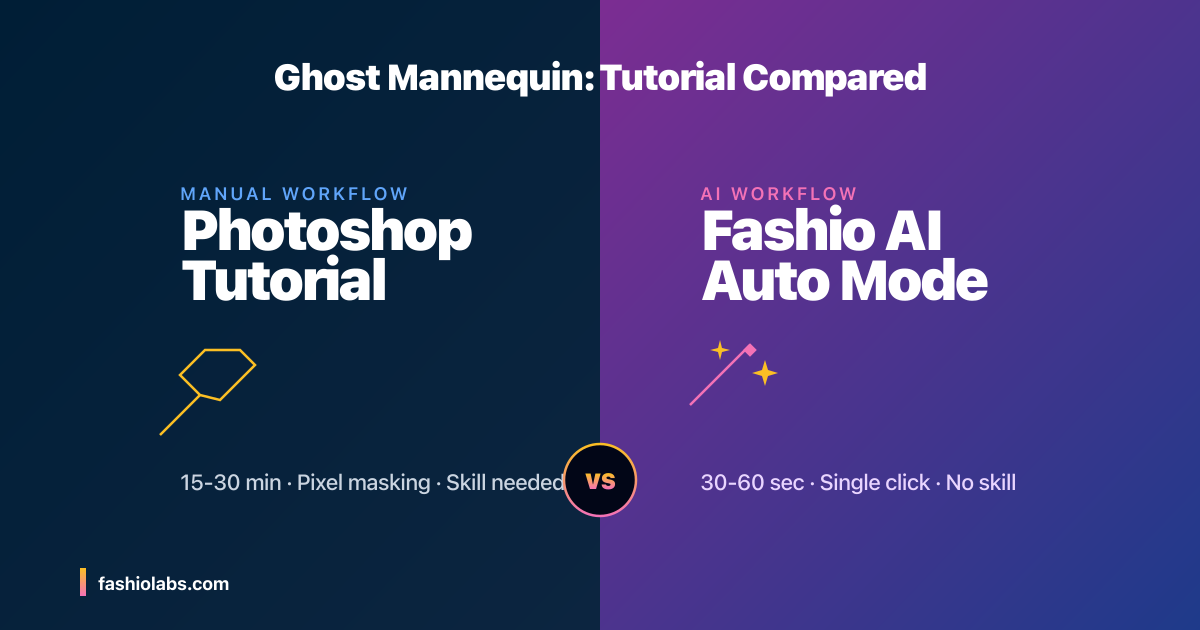
The Two Paths to a Ghost Mannequin Image
For more than 20 years, creating a ghost mannequin image has meant one thing: opening Photoshop, masking out a mannequin frame by frame, and compositing inside-neckline shots manually until the result looked clean. The skills required were specialized, the time investment was significant, and the cost per image — when factoring in skilled retoucher rates — was meaningful enough that most brands outsourced the work to dedicated retouching studios.
In 2026, there is a second path. AI ghost mannequin tools complete the same work in roughly the time it takes to read this paragraph, with no manual selection, no neck joint compositing, and no Photoshop expertise required.
This guide walks through both workflows step by step. The Photoshop tutorial is preserved as a complete reference for retouchers who still work this way, and for anyone who wants to understand what the AI is actually doing under the hood. The AI workflow comparison shows where the new tools have closed the gap, where they still trail manual retouching, and how to decide between them for your production needs.
Part 1: Step-by-Step Ghost Mannequin Tutorial in Photoshop
This tutorial assumes you have two source photos: a primary front-facing shot of the garment on a mannequin, and a secondary shot of the inside neckline (typically with the mannequin's neck removed or rotated to expose the interior).
Step 1: Open Both Source Files in Photoshop
Open the front mannequin shot as your base file. Place the inside-neckline shot as a layer on top — File → Place Embedded, or drag the file into your Layers panel. You should now have two layers: the front mannequin shot at the bottom, the inside-neckline shot at the top.
Step 2: Align the Inside-Neckline Layer
The inside-neckline shot needs to be positioned so the inside collar lines up with the front shot's neckline opening. Use Edit → Free Transform (Cmd/Ctrl+T) to scale and rotate the layer until the alignment is correct. Reduce the layer's opacity to 50% temporarily so you can see through it for accurate alignment.
Step 3: Mask Out the Mannequin in the Front Shot
This is the most time-consuming step. Hide the inside-neckline layer temporarily. On the front mannequin layer, use the pen tool to trace a precise path around the visible mannequin parts — typically inside the collar opening, around the neckline edges, and through any sleeve openings where the mannequin's arms or body are visible.
Once the path is complete, convert it to a selection (Cmd/Ctrl+Click on the path), then add a layer mask (Layer → Layer Mask → Hide Selection). The mannequin should now be masked out, leaving an empty interior where it used to be.
Step 4: Reveal the Inside-Neckline Layer Through the Mask
Re-show the inside-neckline layer. Adjust its opacity back to 100%. The inside neckline should now be visible through the masked-out area where the mannequin used to be. If the alignment is off, refine it with Free Transform.
Step 5: Refine the Mask Edges
Zoom in to 200–400% and inspect every edge of the mask. Use a soft black brush at 30–50% opacity to feather any hard edges. Use a white brush to bring back any garment detail that was accidentally masked out. The goal is a perfectly clean transition between the outer garment and the inside neckline — no visible seams, no halos, no remnants of the mannequin.
Step 6: Color and Exposure Match
The two source images were taken at slightly different times under slightly different lighting, so their color and exposure rarely match exactly. Use a Curves or Levels adjustment layer clipped to the inside-neckline layer to match its exposure to the front shot. Use Hue/Saturation or Color Balance adjustments to match the color cast.
Step 7: Final Cleanup
Address any remaining issues: pinning marks where you clipped the garment to the mannequin, fabric wrinkles that distract from the silhouette, lint or dust on the garment, and any uneven shadows. Use the spot healing brush, clone stamp tool, or content-aware fill for these cleanup tasks.
Step 8: Export
Flatten the image (Layer → Flatten Image) and export as PNG or JPEG depending on whether you need transparency. For ecommerce listings, JPEG with white background is standard. For overlay use cases (like marketing graphics), PNG with transparency preserved is more flexible.
Time Investment for the Photoshop Workflow
Realistic time estimates per image:
- Beginner retoucher: 60–90 minutes per image during the learning curve
- Experienced retoucher: 15–30 minutes per image for standard garments
- Expert retoucher with custom actions: 8–15 minutes per image for routine apparel
- Complex garments (tailored, structured, multi-layered): 45–60+ minutes regardless of skill level
Or Skip All Eight Steps
Upload one source photo and get the cleaned ghost mannequin output in 30–60 seconds — no Photoshop required.
Try Fashio AI's Ghost Mannequin Tool →Part 2: The AI Ghost Mannequin Workflow
The same finished image — a clean ghost mannequin shot with reconstructed inside neckline, color-matched and ready for ecommerce listings — can be produced through an AI workflow in three steps instead of eight.
AI Step 1: Upload the Source Photo
Open Fashio AI's ghost mannequin tool and upload your source photo. The AI accepts a single front-facing shot of the garment on a mannequin — no inside-neckline secondary shot required.
AI Step 2: Wait 30–60 Seconds
The AI removes the mannequin, reconstructs the inside neckline, cleans up pinning marks, balances color and exposure, and outputs a clean ghost mannequin image. Processing time is typically 30 seconds for a standard image and up to 60 seconds for high-resolution inputs.
AI Step 3: Download or Send to Catalog
The output is delivered as a clean ghost mannequin image at the same resolution as your input. For Shopify, BigCommerce, and other ecommerce platforms with direct integration, the output can be pushed directly to product listings without a download step.
Photoshop vs AI: Side-by-Side Comparison
| Dimension | Photoshop Workflow | AI Workflow |
|---|---|---|
| Time per image | 15–30 minutes (skilled) | 30–60 seconds |
| Skill required | Specialized retouching expertise | Upload a photo |
| Source photos needed | Front shot + inside-neckline shot | Single front shot |
| Cost per image (outsourced) | $5–$25 | $0.50–$2 |
| Quality on standard apparel | Excellent | Excellent — comparable |
| Quality on complex garments | Excellent with skilled retoucher | Good — manual review may be needed |
| Batch processing | Possible with actions, still slow | Native — process hundreds in parallel |
| Consistency across catalog | Depends on retoucher discipline | Inherently consistent |
When the Photoshop Workflow Still Wins
Despite the time and cost advantages of AI, there are scenarios where the Photoshop workflow remains the better choice:
- Hero products and luxury items. When a single image needs to be perfect for a campaign cover, a magazine spread, or a flagship product page, the manual control of Photoshop justifies its time cost.
- Highly complex construction. Tailored suits with multiple layers, structured outerwear with visible interior linings, and garments with intricate inside-collar construction can require manual judgment that AI tools have not yet matched.
- Brand-specific aesthetic conventions. Some luxury brands have developed signature retouching styles — slightly desaturated palettes, specific shadow placement, custom paper-cutout effects — that AI tools cannot replicate without significant prompt engineering.
- One-off creative projects. For artistic or editorial work where the ghost mannequin is part of a creative concept rather than catalog production, manual Photoshop control is more appropriate than templated AI output.
When the AI Workflow Wins
The AI workflow has become the rational default for:
- Catalog-scale production. Any brand processing more than 20–30 SKUs per month will save substantial time and money with AI.
- Time-sensitive launches. Same-day or next-day product photography turnaround is feasible with AI; nearly impossible with Photoshop retouching.
- Consistency across large catalogs. AI produces more consistent output across hundreds of images than even the most disciplined human retouching team.
- Lean teams without retouching expertise. Small brands and DTC startups rarely have in-house Photoshop retouching skills; AI eliminates the gap.
- Iterative testing. When you want to compare ghost mannequin imagery against on-model imagery for the same product, AI lets you generate both formats in minutes.
The Hybrid Approach Most Brands Use
The teams getting the best results in 2026 are not purely AI or purely Photoshop. They use AI for the long tail — the daily catalog volume that needs to ship fast and consistent — and reserve Photoshop expertise for hero products, campaign imagery, and edge cases where manual judgment still wins.
This split typically lands at 90% AI / 10% Photoshop for ecommerce-focused brands, and 60% AI / 40% Photoshop for premium and luxury brands where hero-product imagery is more frequent. Either ratio reflects a meaningful improvement over the all-Photoshop status quo of just a few years ago.
Final Thoughts
The Photoshop workflow for ghost mannequin photography is a craft, and learning it is still valuable for retouchers who want to understand the technique deeply or work on premium production. But for the daily reality of ecommerce catalog photography — fast, consistent, cost-controlled output across hundreds of SKUs — AI tools have become the better path.
The right move for most brands is not "AI vs Photoshop" but "AI for volume, Photoshop for hero." That hybrid lets your team ship fast on routine work while preserving manual control where it actually matters.
For more on the broader shift in ghost mannequin production, see our companion guides on why ghost mannequin photography is outdated in 2026 and 3D ghost mannequin photography, plus our terminology explainer on ghost mannequin vs invisible mannequin.