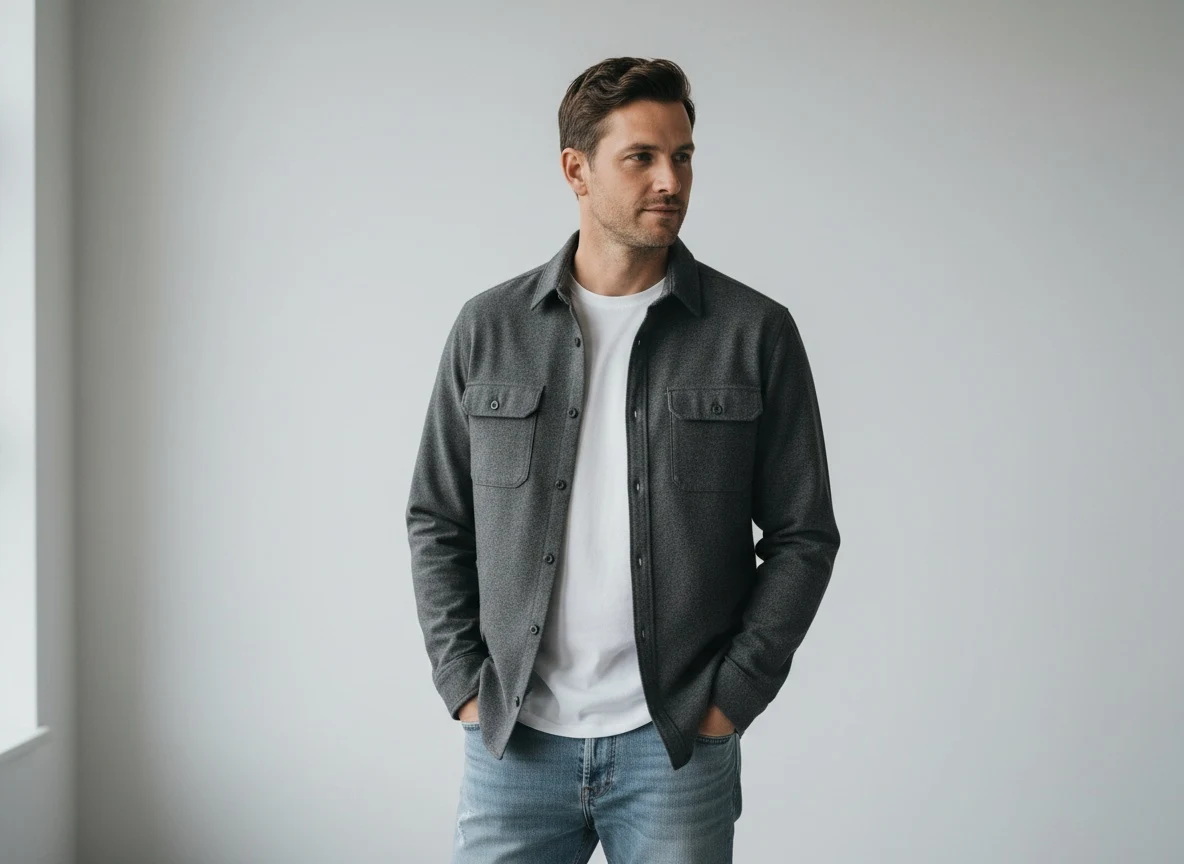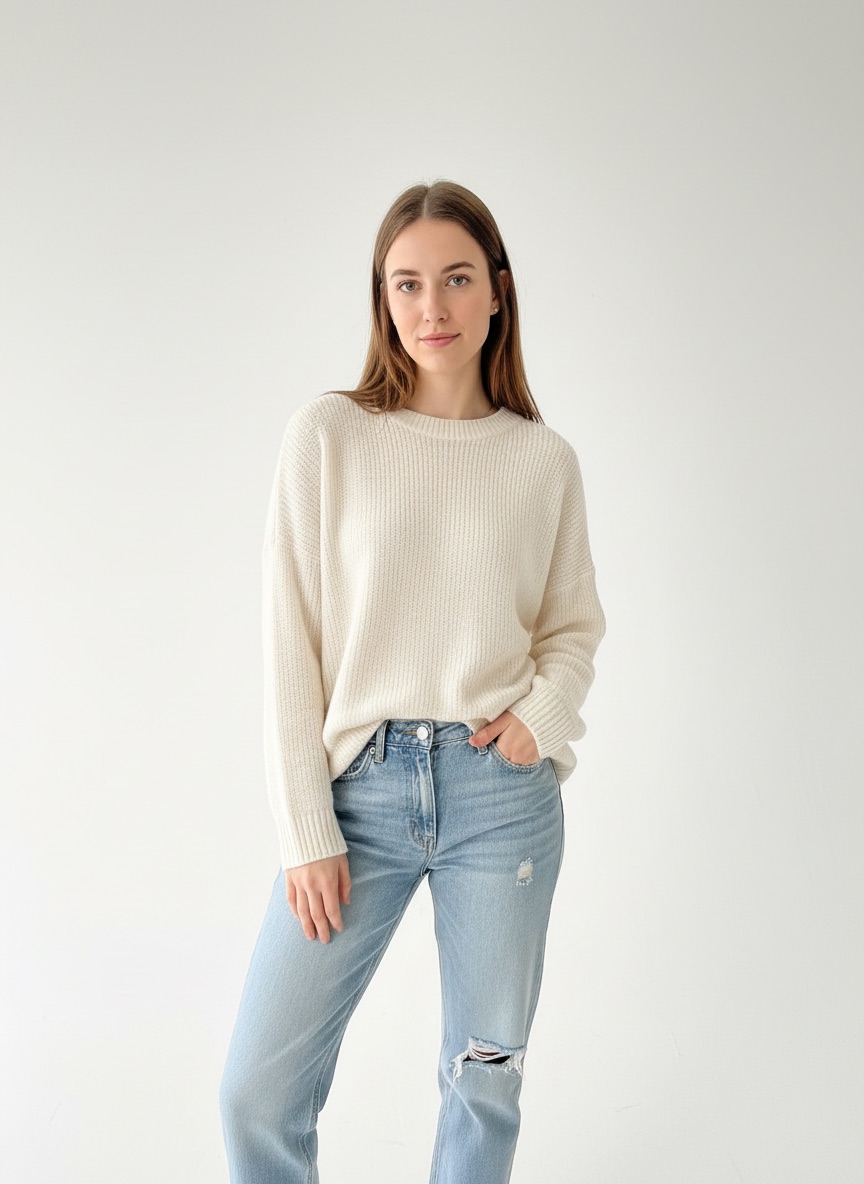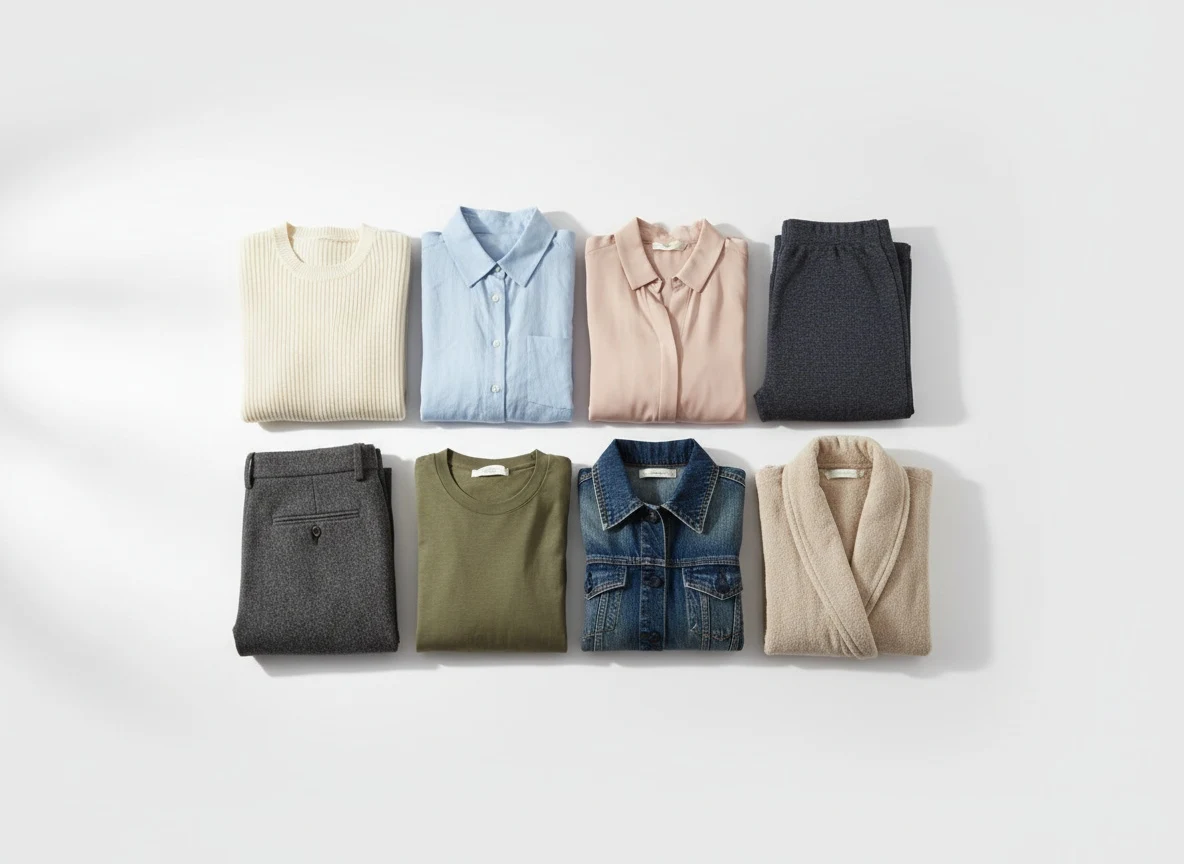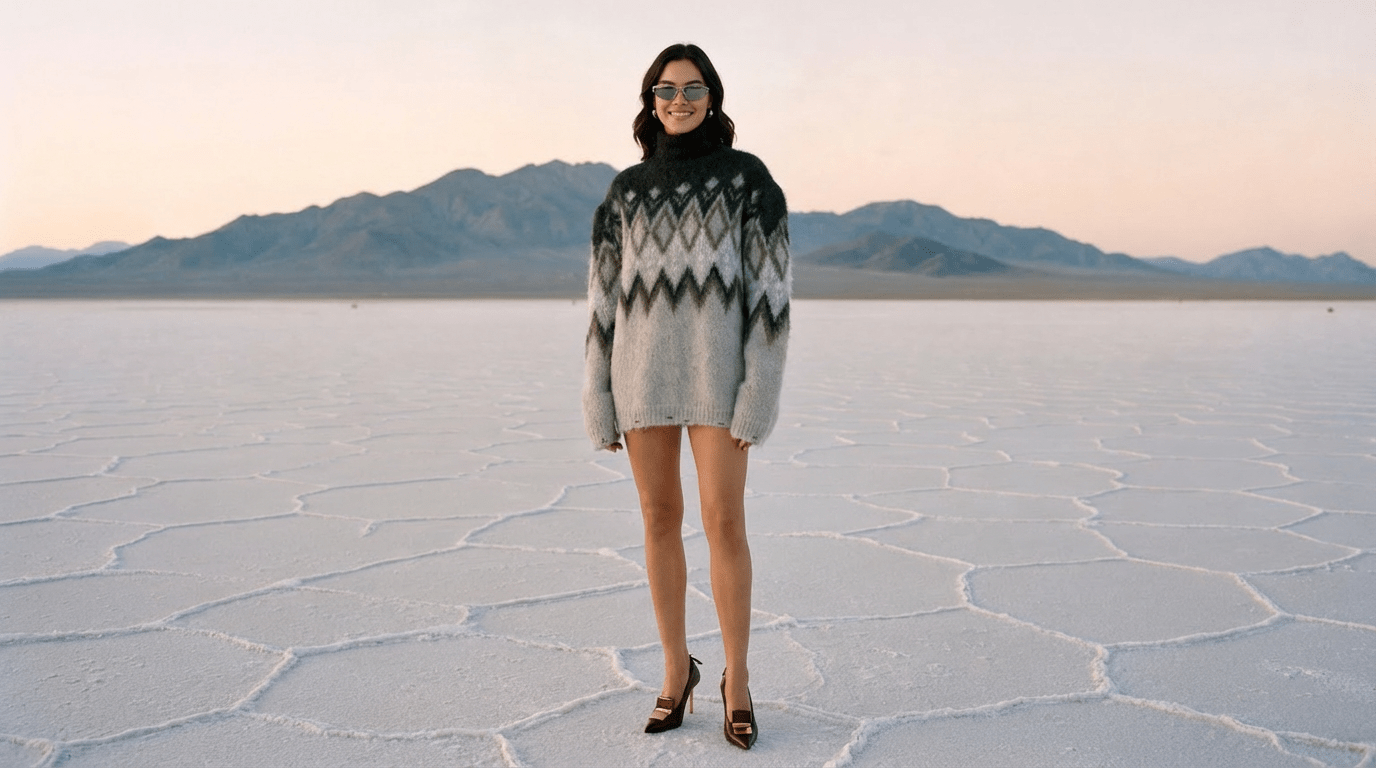
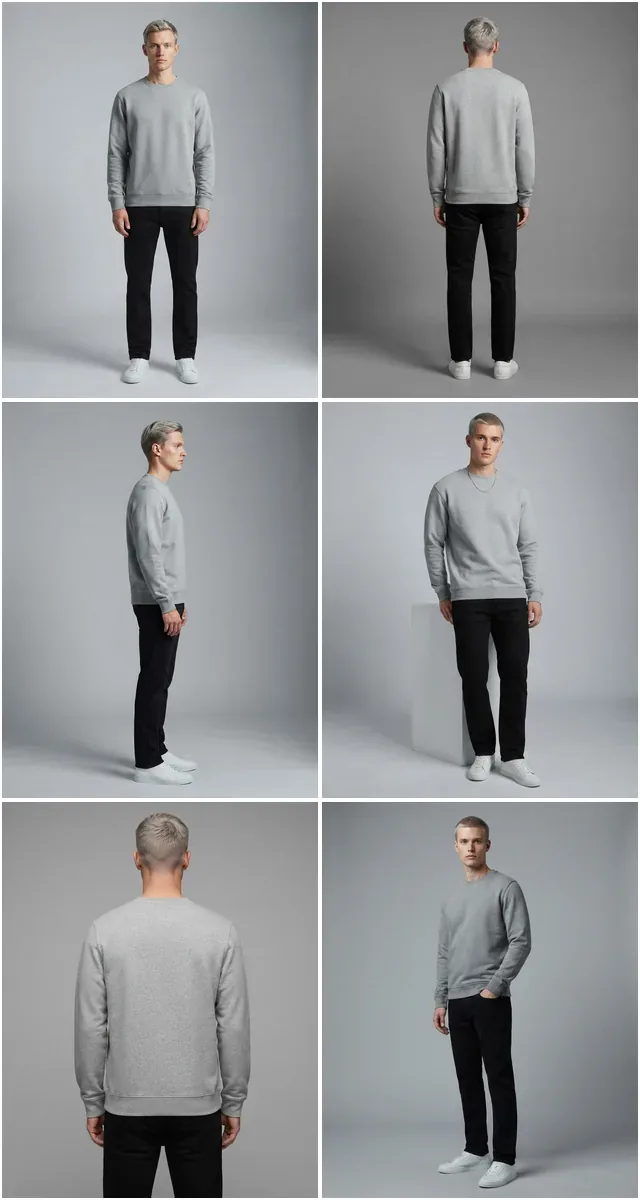
The blocker for most small apparel stores is not the camera — it is the shoot. A model, a location, a stylist and a two-week turnaround does not fit a catalogue that gains twenty SKUs a month. This guide is for the store that was never going to book that shoot in the first place: one phone photo of the garment in, a full set of on-model Shopify images out, at whatever budget "no budget" actually means for you.
1 source photo 4 images minimum, 5–8 target 2048 × 2048
Photograph the garment flat or on a mannequin, in even light, with true colour. Generate the on-model set from it. Everything downstream inherits the quality of that one source shot — which is why the source is the part worth doing properly.
This is the zero-budget, phone-photo-only path: what one source image needs, the minimum viable set to launch a listing, and where it breaks. For the full technical spec — exact Shopify size requirements, marketplace compliance, camera setup if you do shoot — see the Shopify product photography guide, which this post treats as the source of truth on numbers.
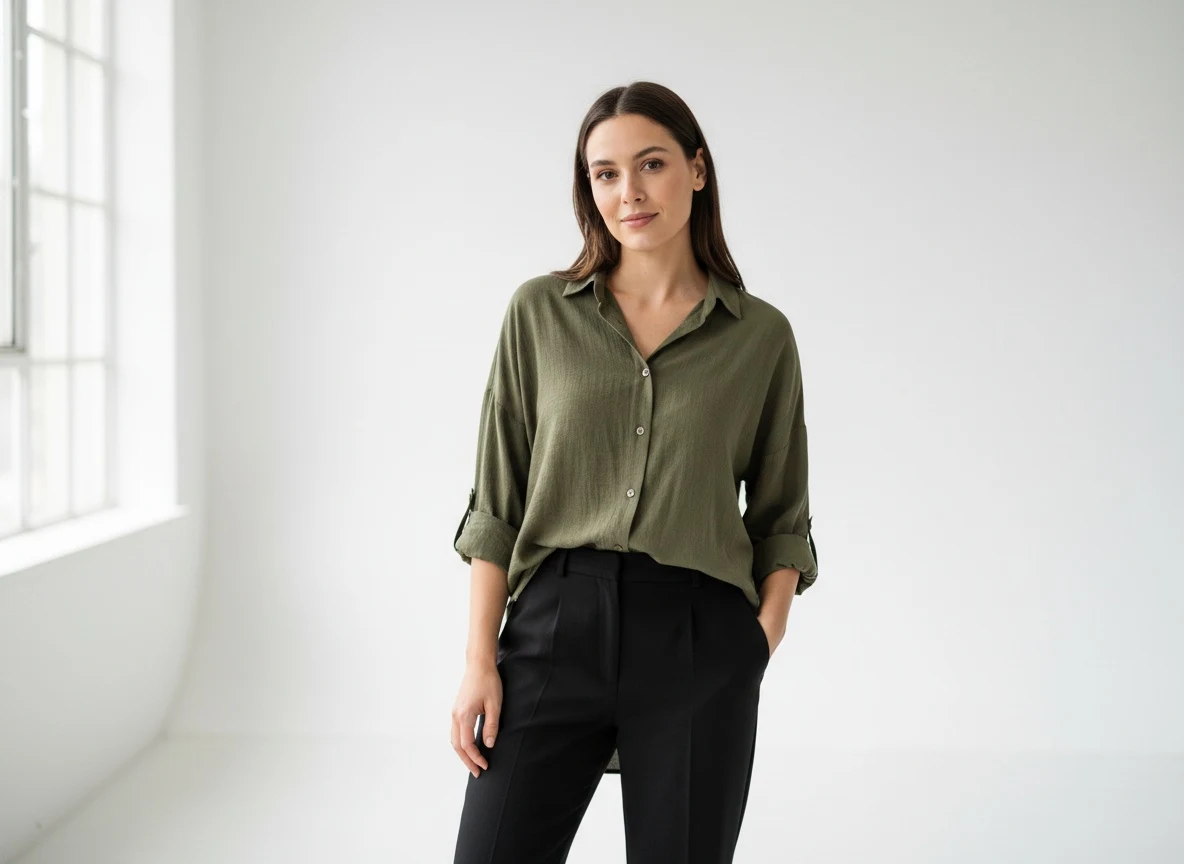
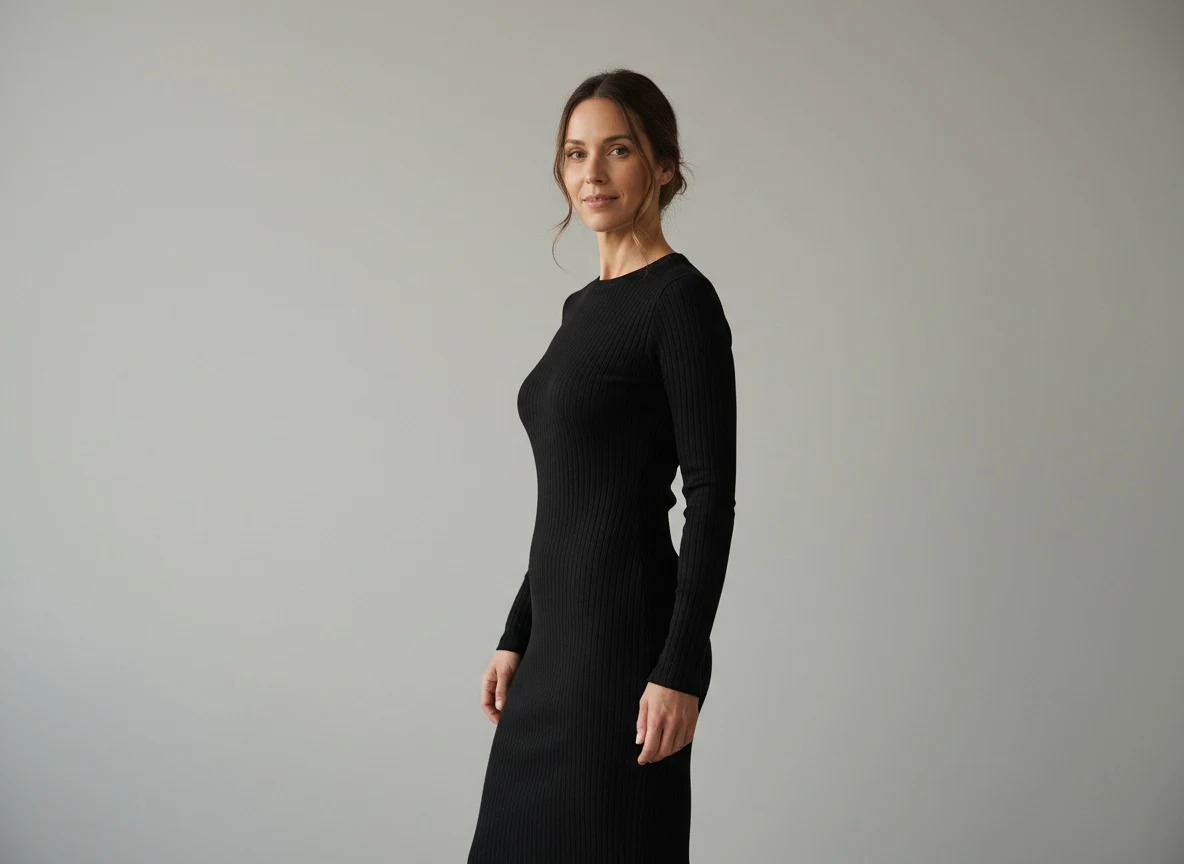
Step 1 — Get the source photo right
Everything in this workflow is derived from one image, so its faults propagate. Four things matter, in this order:
- True colour. Shoot in daylight or under a single consistent light source. Mixed lighting — a window plus a warm bulb — is the most common reason a generated garment comes back the wrong shade.
- Visible construction. Seams, collar, cuffs, hem. If the structure is not readable in the source, it will not be readable in the output.
- Flat or mannequin, not crumpled. A garment folded on a bed hides its shape. Lay it flat and square, or put it on a form.
- Resolution to spare. Shoot larger than you need. Shopify's zoom turns off below 800 × 800 pixels, and 2048 × 2048 is the practical target for the final image.
A phone photo taken at an angle, on a patterned surface, in mixed light. It is the fastest source to produce and the most expensive to fix — you spend the saved five minutes three times over on regenerations.
Step 2 — Decide the image set before you generate
The mistake is generating whatever looks nice and calling it a product page. Shopify apparel listings convert on a specific set of questions, and each image should answer one:
| # | Image | Question it answers |
|---|---|---|
| 1 | On-model, front, full length | What does it look like worn? |
| 2 | On-model, back or three-quarter | What is happening at the back — and how does it fall? |
| 3 | Detail crop | What is the fabric, the stitching, the hardware? |
| 4 | Clean product-only | What am I actually buying, without styling? |
| 5 | Scale or styling shot | How does it sit against the rest of an outfit? |
Four of those five come from generation. The clean product-only shot is usually your original source, background-removed.
Step 3 — Generate from inside Shopify
The version of this workflow that survives contact with a real week is the one where you never leave the admin. Open a product, generate, add the result to the product — no export folder, no re-upload, no second browser tab holding your place.
With Fashio installed, a product's More actions menu carries two entries: generate one image, or run a whole catalogue shoot that renders every shot of a chosen set against that product. Results carry an Add to product button that writes straight into the product's media.
Running a catalogue shoot once beats generating five images one at a time, because the model, lighting and environment stay consistent across the set. Mixed models across a single product page reads as a mistake, and shoppers notice it before they can say why.
Step 4 — Keep the catalogue coherent
A single product page is easy. A hundred of them, generated over four months, is where stores come apart. Three rules hold it together:
- One model archetype per collection. Not per product. Rotating models by product makes a collection page look like a marketplace.
- One background per product type. Studio grey for basics, one location for outerwear. Consistency at the collection-page thumbnail level is what reads as a brand.
- One aspect ratio everywhere. Square is the safe default; Shopify's grid crops to it, and mixed ratios produce ragged collection pages.
Where this still fails
It is worth being specific about the limits, because discovering them mid-catalogue is expensive:
| Case | Why it breaks | What to do instead |
|---|---|---|
| Printed text and logos | Small type is the first thing to distort | Shoot the detail crop with a camera; generate the rest |
| Exact-repeat prints | Pattern continuity across a garment is hard to preserve | Use a mannequin shot as a hero, generate supporting angles only |
| Sheer and high-shine fabrics | Transparency and specular highlights depend on the real light | Shoot; this is where a camera is genuinely shorter |
| Fit-critical categories | Tailoring and technical fit need a real body to be credible | Shoot at least one real reference image per style |
Generated imagery replaces the shoot you were not going to book. It does not replace the shoot you should.
What it costs
Credits are bought in your Fashio account and spent per image, rather than billed through Shopify. A Plus membership is $29.99 a month for 160 credits, and at 4 credits per generation that is roughly $0.75 an image — which puts a 5-image product set somewhere under four dollars.
The real alternative for most small stores is not a cheaper photoshoot but no photoshoot: a mannequin shot on a white background, doing all the work alone. If you want the actual dollar comparison against a booked shoot — day rate, studio, model, retouching — our true cost of a fashion photoshoot calculator breaks that down by SKU count rather than a single average.
Try it on your worst-performing product
Take the listing with the weakest photo, generate a set, and compare the page before and after. That is a faster answer than any guide.
Start creating →Frequently Asked Questions
Can you sell clothing on Shopify without a photoshoot?
Yes, if the garment itself is photographed clearly. On-model imagery can be generated from a flat or mannequin shot, but the source photo has to show the garment's true colour, texture and construction, because everything downstream is derived from it. This is the zero-budget path — for the full technical spec and camera-shot workflow, see the Shopify product photography guide.
How many images does a Shopify apparel product need?
5–8 is the working target, matching what we recommend in the full Shopify product photography guide: a front on-model shot, a back or three-quarter angle, a detail crop of fabric or hardware, a clean product-only image, and a styling or scale shot. On a zero-budget workflow, start with the first 4 — the fifth is worth adding once the first four are converting.
What's the minimum viable image set if I only have one source photo?
Four images from one clean source photo: on-model front, on-model back or three-quarter, a detail crop, and the source photo itself with the background removed as the product-only shot. That is enough to launch a listing that does not read as unfinished — add the fifth, a styling shot, once you know the product sells.
Do I have to disclose that imagery is AI-generated?
Rules vary by market and by platform, and they have been moving. Check the requirements for the markets you sell into rather than assuming, and note that some sales channels carry their own labelling policies independent of local law.
Where does this still fail?
Fine print and logos, exact-repeat prints, sheer and heavily reflective fabrics, and fit-critical tailoring. In those cases a camera is the shorter route, and it is cheaper to know that before you generate a hundred listings.
How much does this cost compared to a real photoshoot?
A Plus membership is $29.99 a month for 160 credits, and at 4 credits per generation that is roughly $0.75 an image — a 5-image product set is under $4. Our true cost of a fashion photoshoot calculator breaks down what the alternative — a booked shoot — actually runs, by SKU count.
- Fashio for Shopify — generate from a product page, add the result to the product
- Installation guide — setup, permissions, first image
- Shopify product photography — the full technical spec, camera setup, marketplace compliance
- True cost of a fashion photoshoot — what the alternative actually runs
- Best Shopify apps for fashion brands in 2026