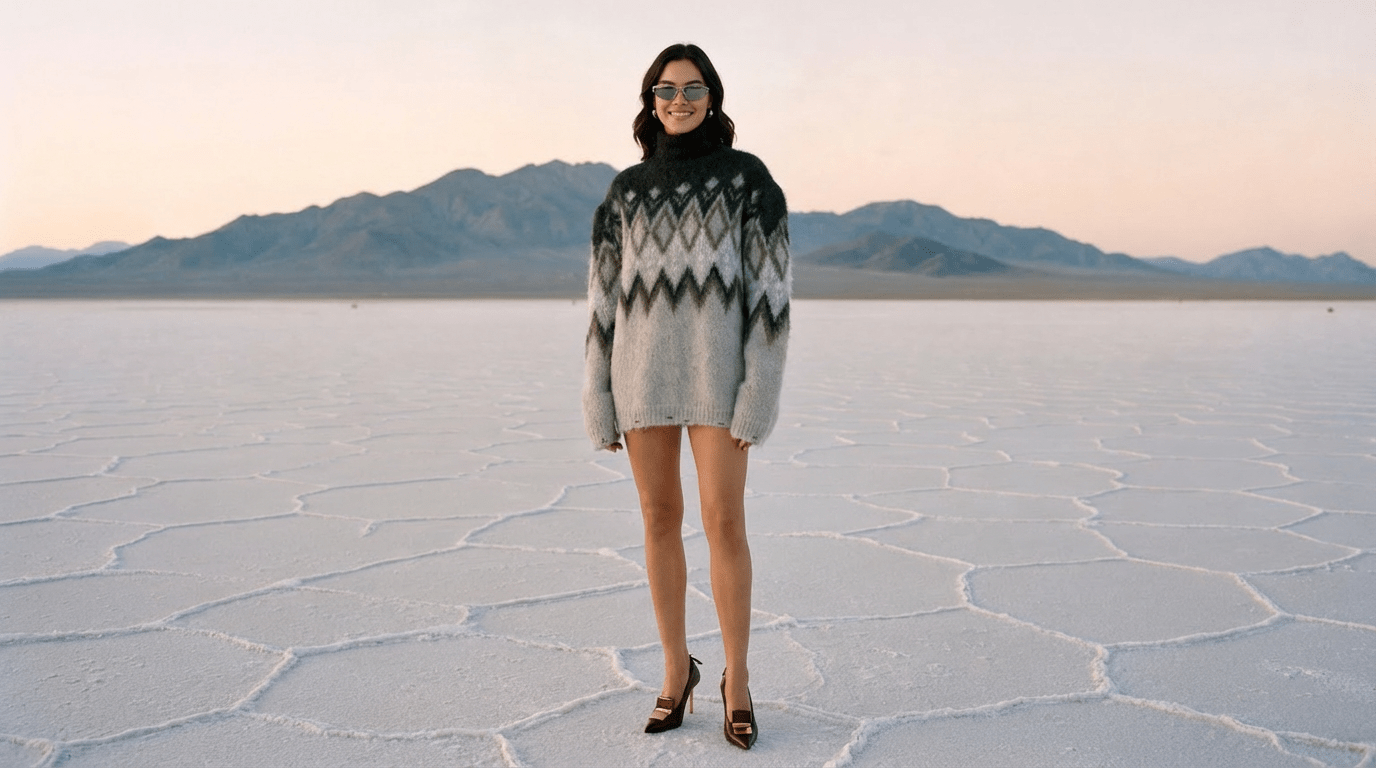
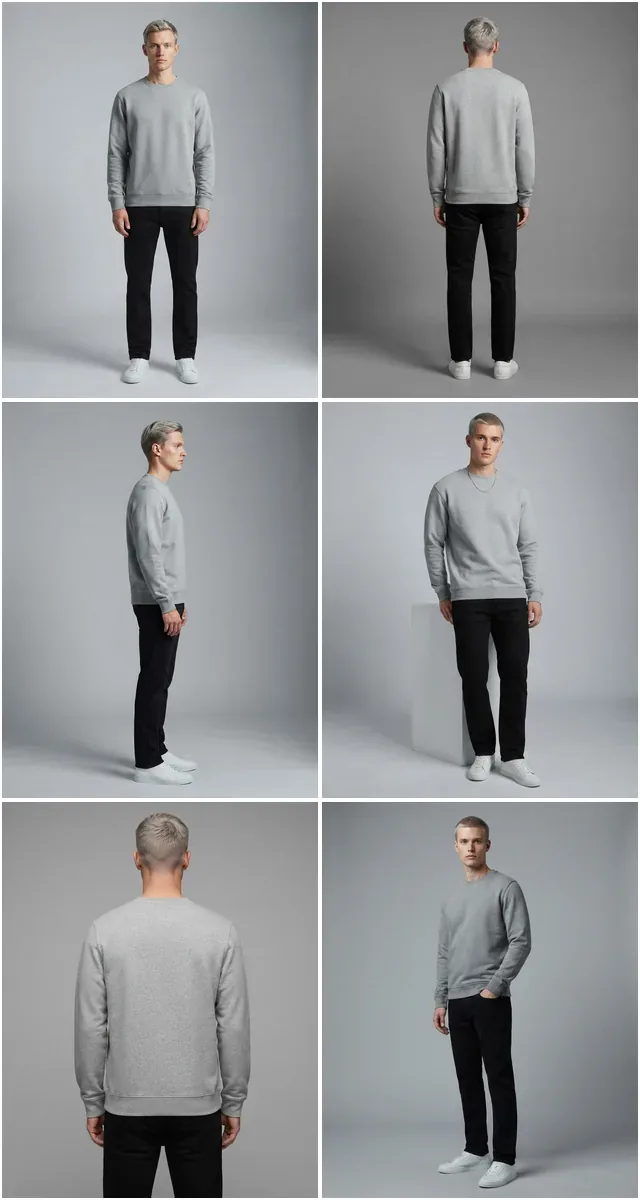
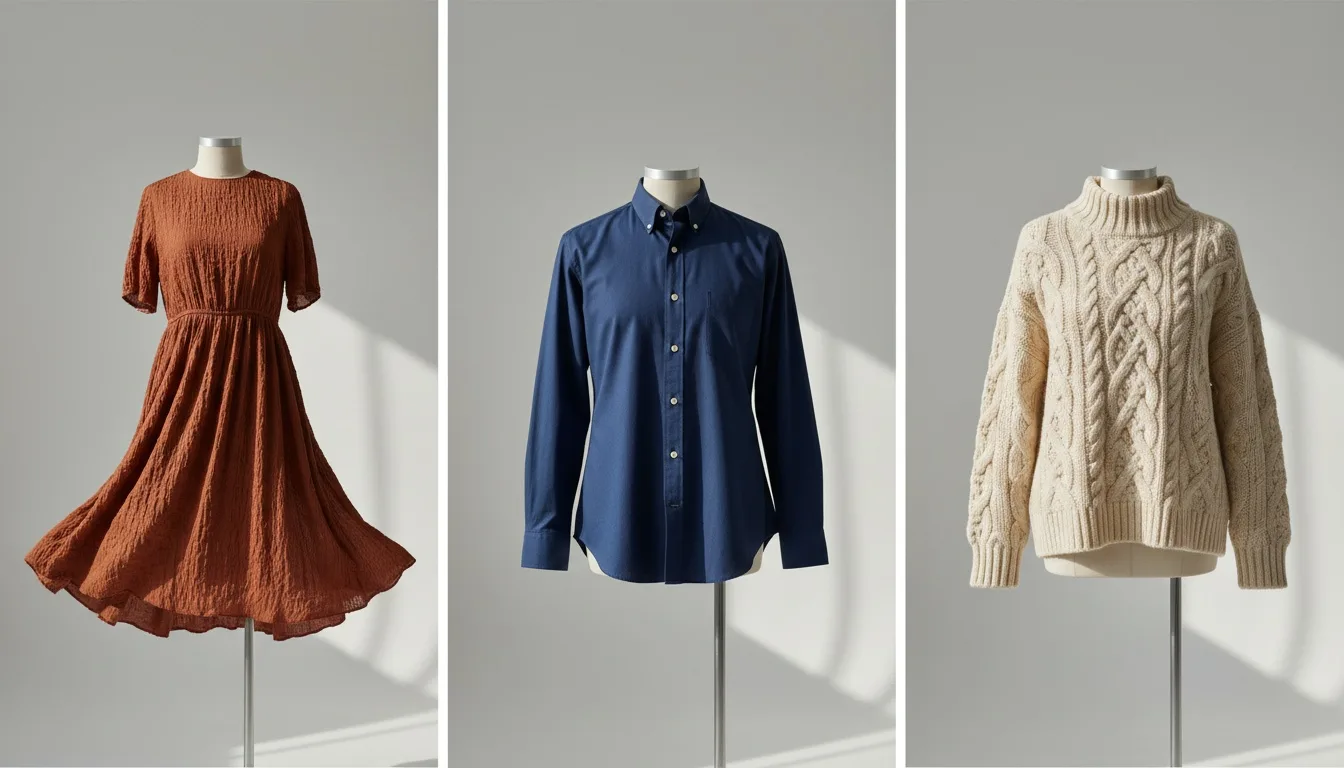
Can you change an outfit in a product photo without reshooting?
Yes, by four routes — manual compositing, generative retouching, generating a fresh on-model frame from a flat lay, or reshooting. Which one is correct depends almost entirely on how much of the frame has to change, and most of the bad advice on this subject comes from treating it as one question rather than four different ones.
Small edit → retouch Whole garment → generate Complex structure → reshoot 4 credits per generation
The decision rule in one line: if more than about a third of the frame changes, stop editing and generate a new image instead. Past that threshold, editing costs more and looks worse.
The four routes compared
| Manual compositing | Generative retouch | Generate from flat lay | Reshoot | |
|---|---|---|---|---|
| Best for | Hero images, full control | Colour, sleeve, small detail | Whole-garment change | Complex construction |
| Time per image | 30 min – hours | Minutes | One job | Days, including scheduling |
| Cost basis | Retoucher hours | Per edit | 4 credits per image | Studio, model, samples |
| Scales to 200 SKUs? | No | Poorly | Yes | Only with budget |
| Main risk | Lighting mismatch at the edges | Drifts from the real garment | Source photo quality | Cost and time |
Route 1 — Manual compositing
The traditional answer: mask the existing garment, drop in the replacement, and match lighting, shadow and perspective by hand.
It gives complete control, which matters for a hero image or a campaign frame where every pixel is scrutinised. It is also the route most likely to look wrong in a specific way that is hard to unsee: edge lighting. A garment photographed under one lighting setup and composited into a frame lit differently produces a rim that does not belong, and fixing that properly is most of the labour.
Use it when you have one or two images that genuinely matter and a retoucher who is good at light. Do not use it for a catalogue.
Route 2 — Generative retouching
Editing the existing image rather than replacing the garment: changing a colour, shortening a sleeve, removing a pocket, adjusting a print.
This works well within a narrow band. Colour changes on a plain fabric are close to trivial. Small structural edits are usually fine. The failure mode arrives when the requested change is larger than the model tolerates: the garment starts drifting away from the real product — a print shifts scale, a seam moves, a texture becomes generic — and the resulting image is no longer an accurate representation of what ships.
That is not a technical objection, it is a commercial one. An image that shows a garment you do not sell generates returns. Our clothes color changer is built for the narrow band this route is good at, and the honest boundary is that it edits an existing photograph rather than inventing a new garment.
Put the edited image and the physical garment side by side and ask whether a customer receiving the item would feel misled. That is the only test that matters, and it applies identically to manual retouching, generative editing and generation. The technique is not the issue; the accuracy of the result is.
Route 3 — Generate a new frame from a flat lay
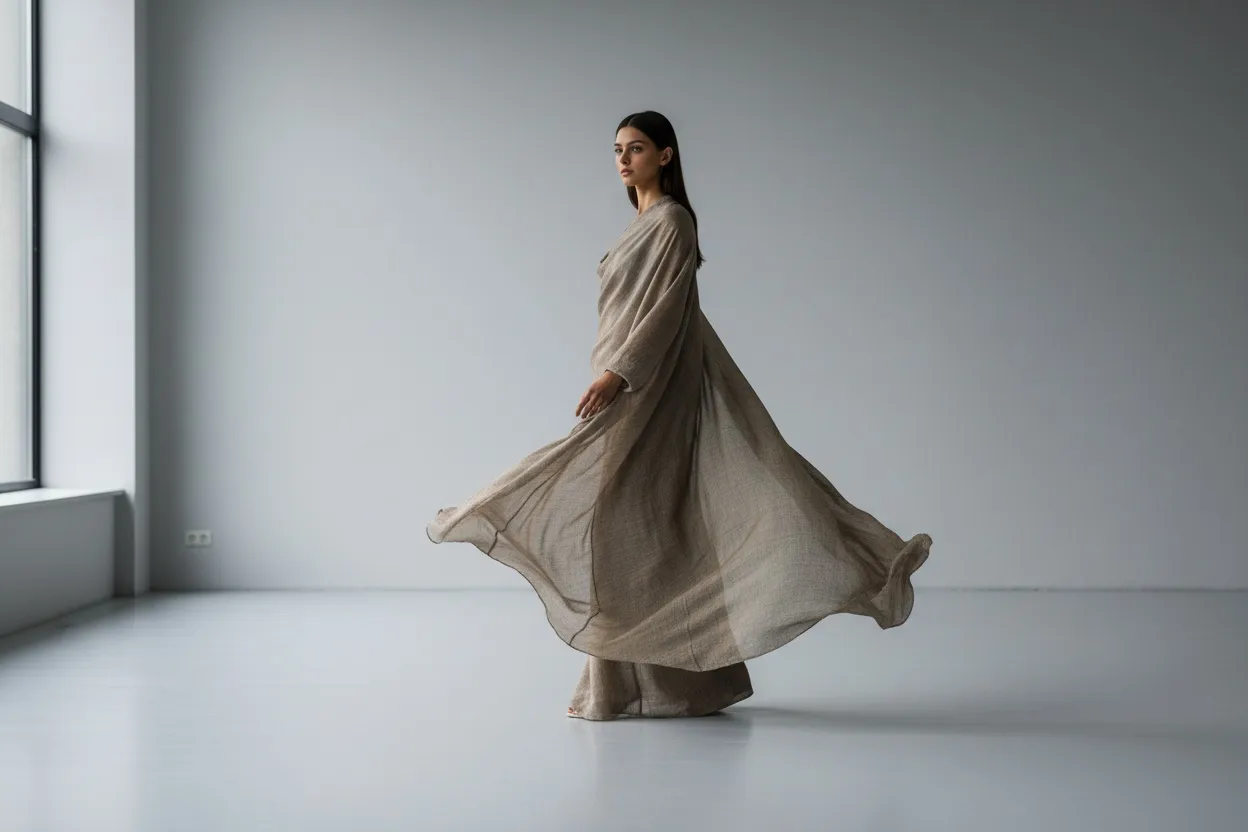
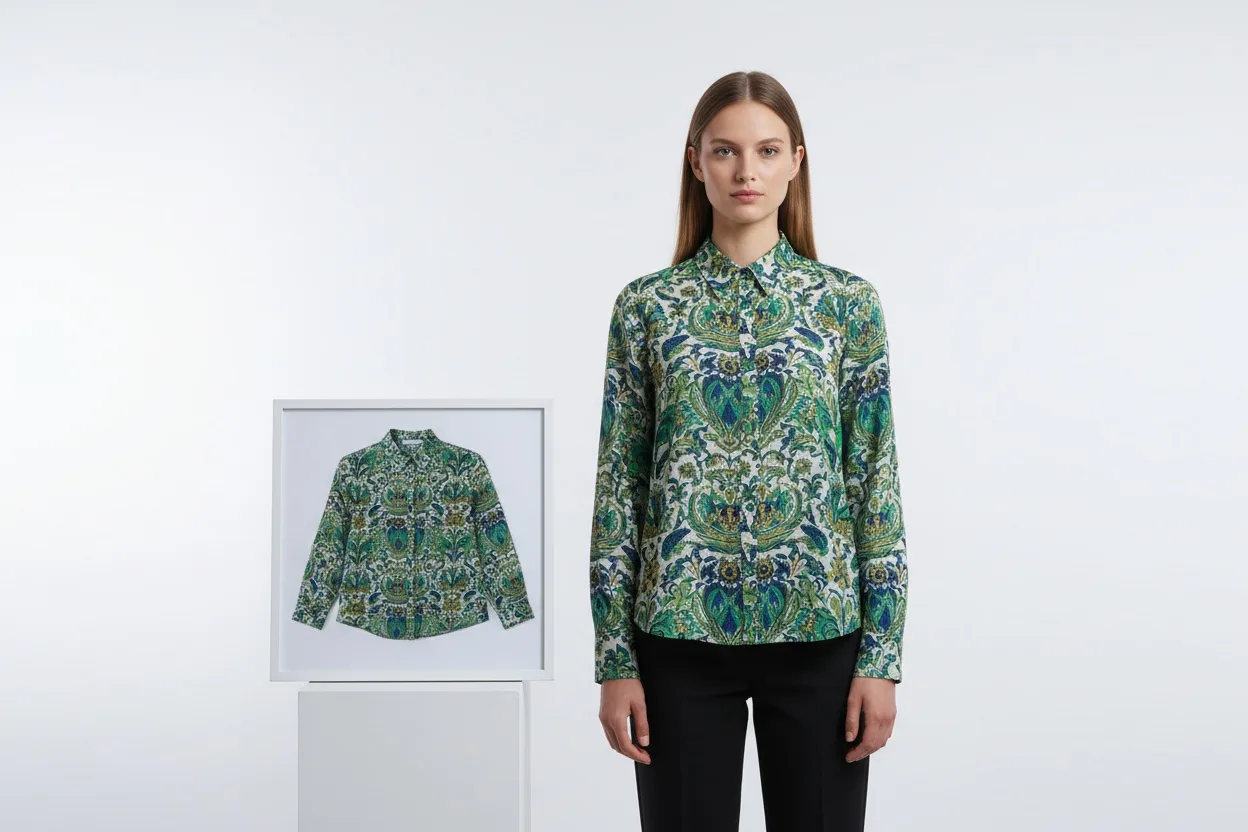
Instead of editing an image that shows the wrong garment, photograph the right garment flat and generate an on-model frame from it. Nothing is being edited, so there is nothing to blend, and the lighting problem disappears because the whole frame is produced under one lighting model.
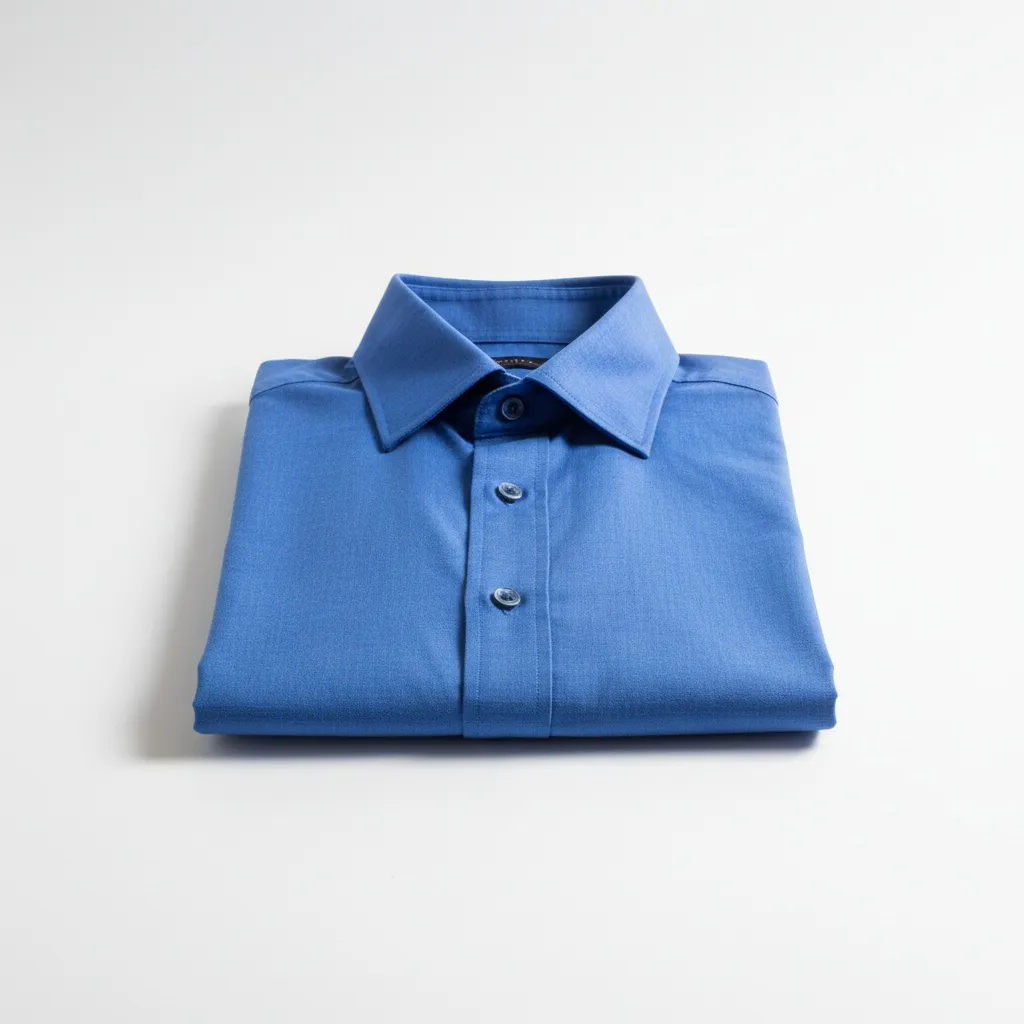
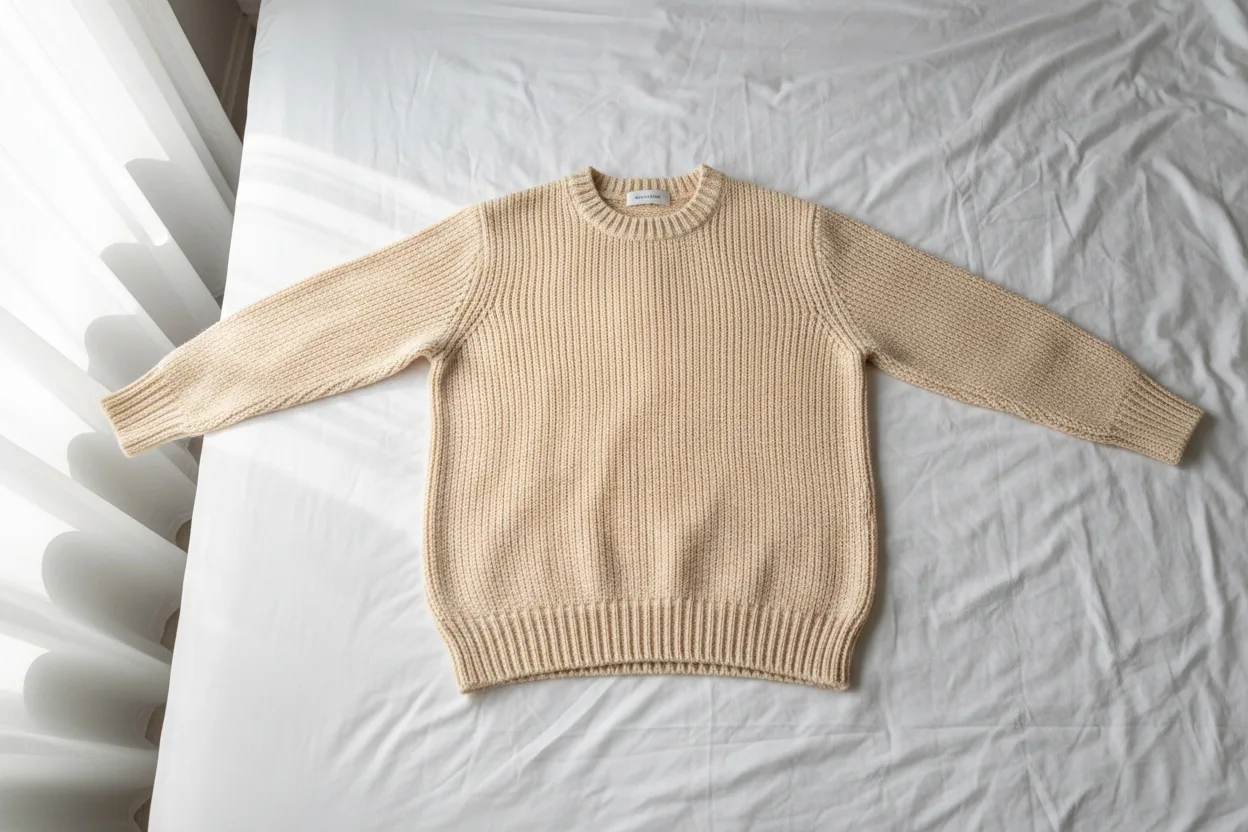
This is the route that scales. It is also the one with the clearest input requirement: the generated image can only be as accurate as the garment photograph you feed it. A phone photograph on a bedsheet is genuinely enough, but it has to be flat, evenly lit, in focus and free of shadow across the print.
The mechanics on our platform, so you can cost it: our AI clothes changer takes one garment photograph and produces an on-model frame at 4 credits, with 50 environment presets, 87 pose presets and 91 published models to choose from. Model and pose selection are optional — leave them unset and the system chooses. On the $29.99 Plus plan's 160 credits that is $0.75 an image; on the 1,200-credit pack at $129.99 it is $0.43. Failed jobs are refunded.
For a whole range rather than a single piece, the catalog photoshoot flow pins one model and one location across every SKU so the collection reads as one shoot rather than as a marketplace.
What the source photo needs
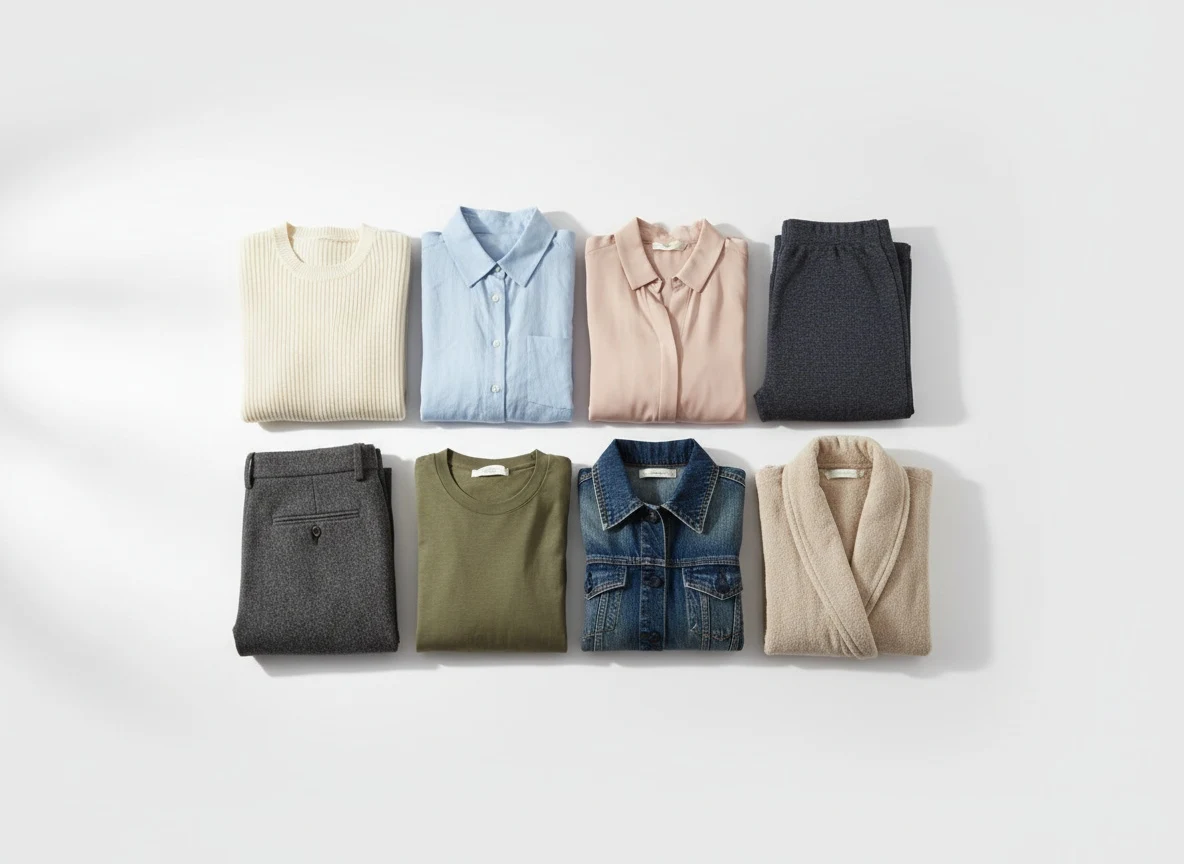
- Flat and square on. Lay the garment out, shoot from directly above. Perspective distortion in the source becomes distortion in the output.
- Even light, no hard shadow. A window with the curtain half drawn beats a ceiling light. Shadow across a print reads as part of the print.
- Whole garment in frame. Including hem, cuffs and neckline. Anything cropped out has to be invented.
- In focus at the print. If the pattern is soft in the source, it will be soft in the result.
- Plain surface. A bedsheet is fine. A patterned rug is not.
Our guide to photographing clothes to sell covers this in more depth, and flat lay photography to on-model covers the specific flat-lay case.
Route 4 — Reshoot, and when it is still right
There is a real category where none of the above is the correct answer, and pretending otherwise wastes people's money.
Heavy tailoring. A structured jacket's drape comes from canvas, padding and internal construction that no external photograph describes. What comes back will be a plausible jacket rather than that jacket.
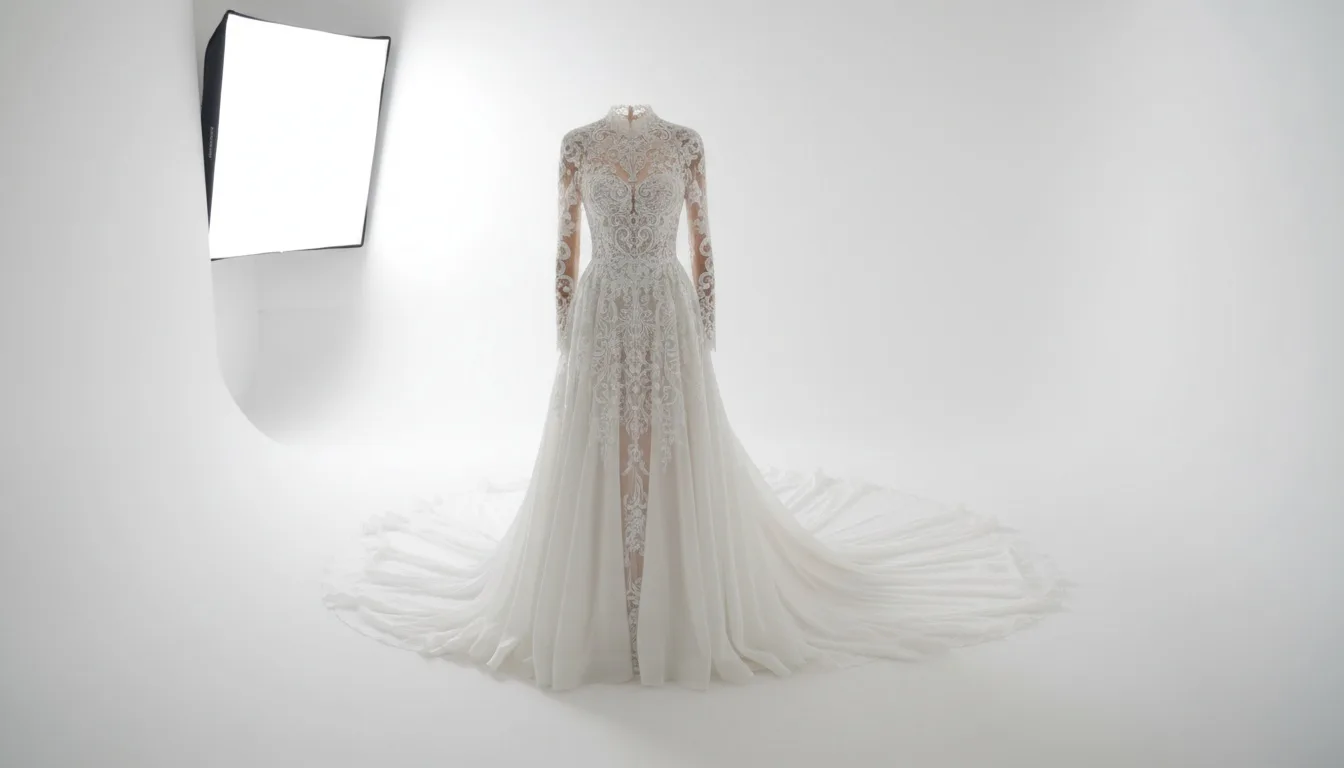
Complex pleating and volume. Anything where the three-dimensional behaviour of the fabric is the product — a heavily pleated skirt, a draped gown — is difficult to describe from flat.
Changes to the person, not the garment. If what you want is a different pose or a different body position from the same model, that is a pose problem rather than a garment problem, and our AI pose changer addresses it directly from the existing frame.
Campaign work. When the image is the story rather than the specification, a shoot is the tool.
A decision flow
- Is only a colour or a small detail changing? → Generative retouch.
- Is the whole garment changing, and do you have it to photograph? → Generate from a flat lay.
- Is the garment heavily structured or heavily draped? → Reshoot.
- Is it one hero image where every pixel matters? → Manual compositing.
- Is it the pose rather than the garment? → Pose generation from the existing frame.
Costing it against a reshoot
The comparison that usually decides this is not per-image quality, it is what happens at volume. A single reshoot has a fixed cost — studio, model, samples, styling, post — that does not fall much whether you shoot 10 pieces or 40. A per-image generation cost of $0.43 to $0.75 scales linearly and has no floor.
For one hero image the reshoot may well be worth it. For a 200-SKU range refresh, the arithmetic is not close. Our true cost of fashion photoshoots breaks the fixed side down properly, including the costs that do not appear on the invoice.
A worked example: refreshing 40 SKUs
Abstract comparisons are less useful than a costed one. Here is a realistic scenario: a small label with 40 SKUs whose existing on-model images are two years old and inconsistent, needing three frames each — front, back and a detail.
| Reshoot | Manual compositing | Generate from flat lays | |
|---|---|---|---|
| Images needed | 120 | 120 | 120 |
| Preparation | Sample pull, model casting, studio booking, styling | Photograph 40 flat lays | Photograph 40 flat lays |
| Variable cost | Day rate × days, plus post | Retoucher hours × 120 | 480 credits |
| At Fashio AI rates | — | — | $0.43–$0.75 per image |
| Elapsed time | Weeks, including scheduling | Weeks of retouching | Hours, once the flat lays exist |
| Consistency | Good, if shot in one block | Depends on the retoucher | Locked by fixing model and set |
480 credits is four 120-credit packs at $29.99, or comfortably inside the 1,200-credit pack at $129.99 with change left for reruns. The comparison that matters is not that this is cheaper per image — it is that the fixed costs of a reshoot do not fall with volume while the generation cost does.
Two caveats, so the example is honest. First, the 40 flat lays still have to be photographed, and that is real work — a day, done properly. Second, if a meaningful share of those 40 SKUs are structured tailoring, they belong in the reshoot column regardless of what the arithmetic says about the rest.
Getting consistency across a batch
The most common disappointment when generating at volume is not image quality; it is that 40 images produced independently look like 40 unrelated listings. Four settings fix it, and all four have to be decided before the first generation rather than during.
- Fix the model. Pick one from the published library and use it for every SKU in the range. This does more for coherence than the other three combined.
- Fix the environment. One preset. A studio set for listings; save location sets for campaign frames.
- Fix the pose per shot type. One pose for every front frame, one for every back frame. Varying the pose per SKU is what makes a grid look assembled from different sources.
- Fix the aspect ratio. Decide it from the destination — marketplace requirements first, then your own grid — and do not mix ratios within a range.
Our catalog photoshoot flow exists specifically to lock these four across a range rather than leaving them to be re-selected each time, and marketplace image requirements covers the ratio and background rules that should drive the decision.
Changing an outfit in a product photo — FAQ
Will the print stay the same?
It should, and this is the thing to check first on any method. Generate or edit one image, then compare the print scale, the repeat and the placement against the physical garment. If the repeat has shifted or the scale has changed, the source photograph is usually the cause — reshoot the flat lay closer and squarer before blaming the tool.
Can I keep the same model across a whole range?
Yes, and for a collection it is worth doing. Selecting one model from the published library and reusing it across every SKU is what makes a range read as a single shoot rather than as a set of unrelated listings.
Does this work for menswear?
Yes. Our menswear photography guide covers the category-specific points, particularly around tailoring, where the reshoot rule above applies most often.
What about garments that need to be seen on more than one body?
That is a strong argument for generating rather than shooting, because a reshoot multiplies by the number of fit models while a generation does not. Our AI plus size model generator covers extended sizing across ten body types from the same source garment.
Is there a free way to test this?
There is no free plan: a new web account starts with 0 credits, and a fashion generation costs 4 credits, so the $14 Starter plan covers about twelve. Put your most difficult garment through it first — a busy print or a fine texture — rather than your simplest, since that is the test that tells you anything.